
Last updated November 4, 2026
 Sweep & inspection
 Caps & crowns
 Flue relining
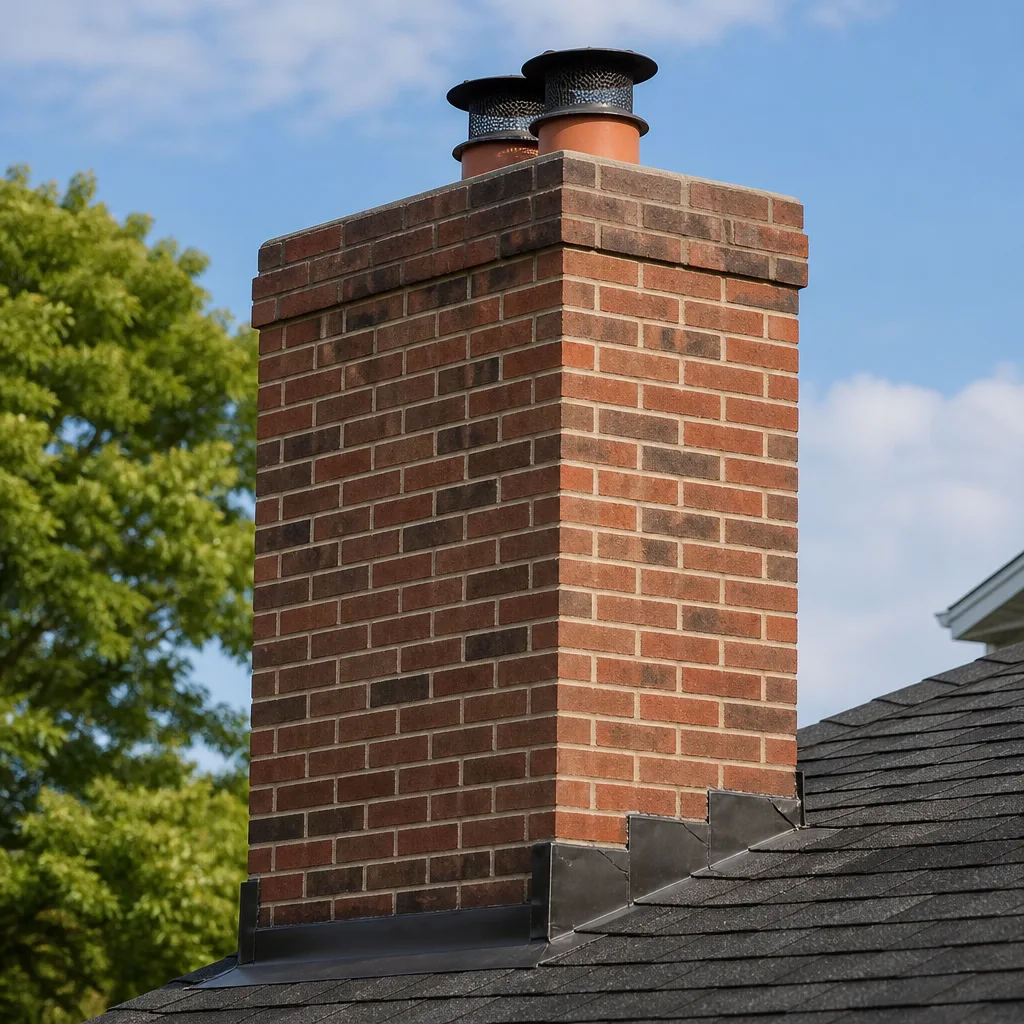 Masonry repair
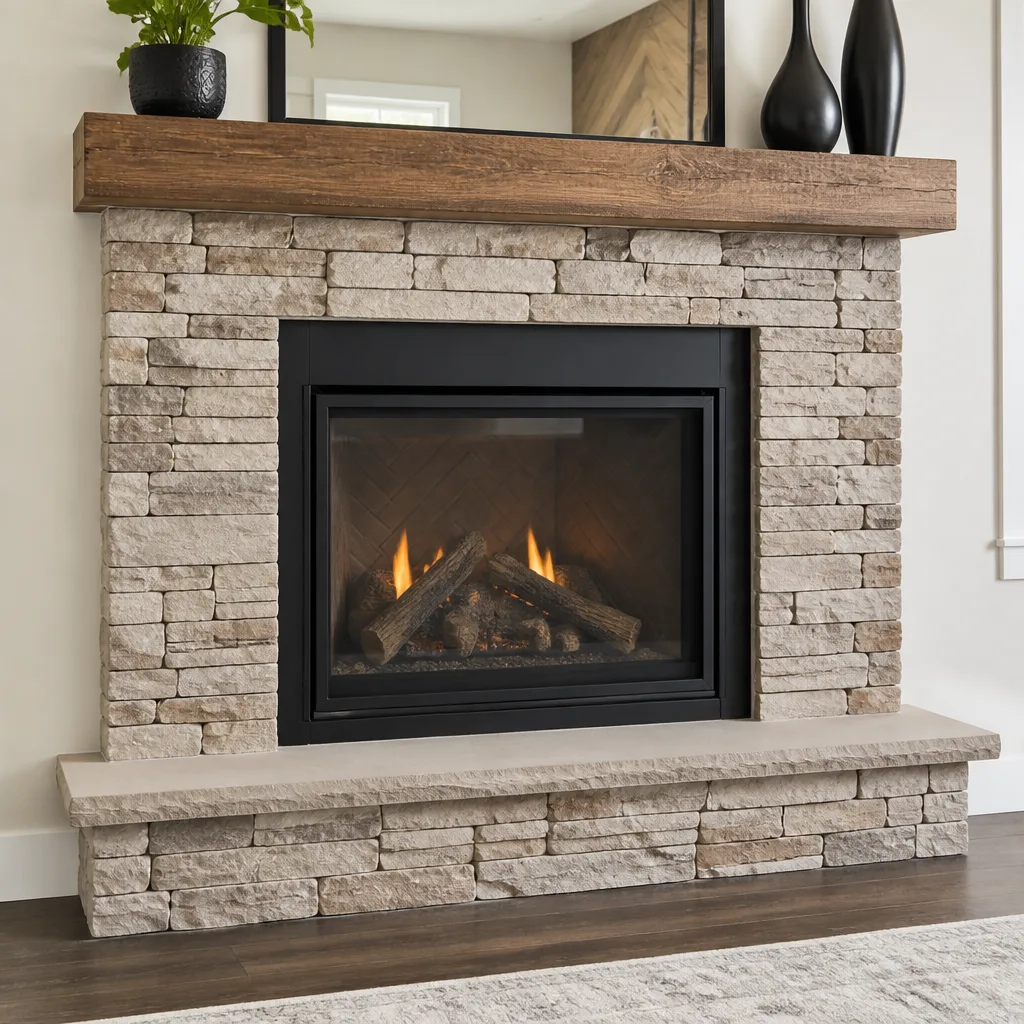 Gas fireplace service
Level 1 sweep and inspection to the NFPA 211 annual standard - flue, crown, cap, and flashing checked and photographed
Chimney sweep logs do not sweep chimneys. They loosen some creosote - which then falls where a brush and vacuum still have to collect it.
Chimney Sweep Maintenance Checklist for Perris Homeowners
The chimney cap is the most neglected component on Perris homes. A missing, cracked, or improperly fitted cap leads to the majority of animal intrusions, water damage, and debris blockages we find during local service calls. This guide walks you through a component-by-component inspection sequence you can run yourself between professional visits, built around the actual failure points we see in Perris chimneys rather than a generic national checklist.
Styles & brands we work with
- Sweep & inspection
- Caps & crowns
- Flue relining
- Masonry repair
- Gas fireplace service
Quick Answer
A chimney maintenance checklist for Perris homeowners should cover the exterior cap, crown, mortar joints, and flashing, then move inside to inspect the damper, smoke shelf, firebox, and visible creosote. Run the exterior check every spring and fall, inspect the firebox before each burn season, and schedule a professional chimney sweep annually or after every 50 to 60 fires, whichever comes first. Most water and animal problems start at the cap, so that inspection takes priority.
Table of Contents
- The Exterior Walk-Around: Cap, Crown, Mortar, Flashing
- The Interior Firebox Checklist: What Homeowners Can Safely Inspect
- Signs on Ceilings and Walls Near the Chase
- Cleaning Frequency for Perris Homes: A Simple Table
- DIY-Safe vs. Technician-Required Items
- A Seasonal Maintenance Routine for Perris
- Common Mistakes to Avoid
- When to Call a Professional
- Frequently Asked Questions
- The Bottom Line
The Exterior Walk-Around: Cap, Crown, Mortar, Flashing
Start outside. The exterior of your chimney takes the most abuse in the Perris climate: intense summer sun beats on the crown and cap for months, and the occasional heavy rain that does arrive tests every seal. Walk around your home with a pair of binoculars if the roofline is high, and check these four components in order.
1. The Chimney Cap
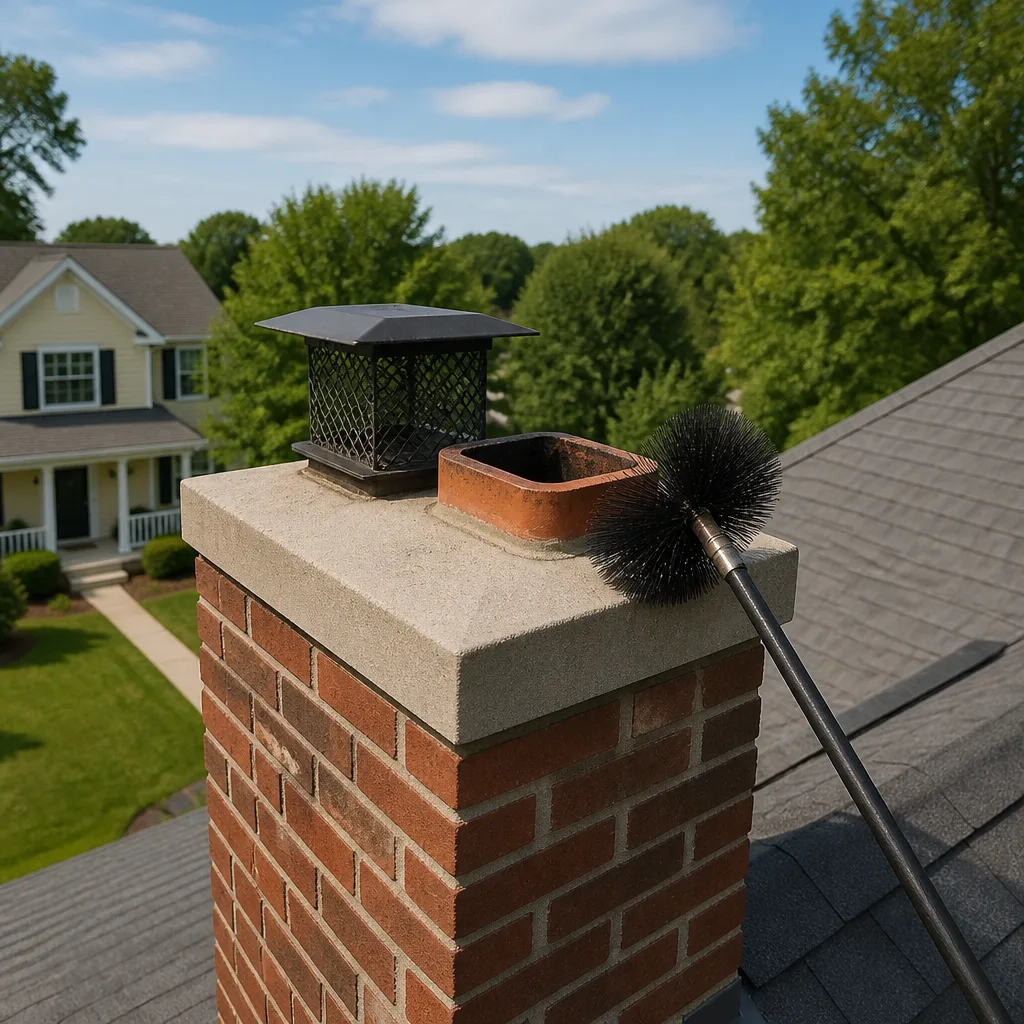
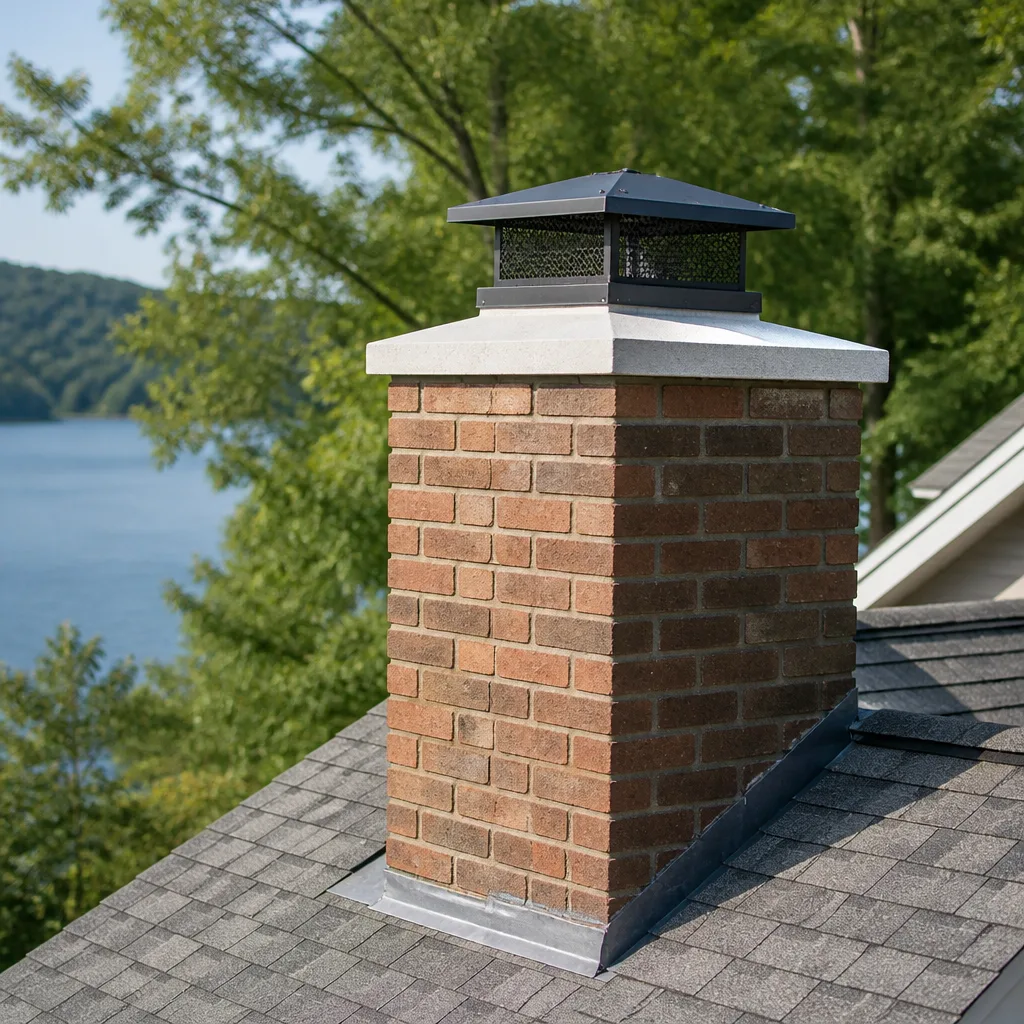
The cap sits on top of the flue and does three jobs: keeps rain out, keeps animals out, and acts as a spark arrestor. In Perris, where birds, squirrels, and raccoons are active year-round, a cap with a damaged mesh or missing lid is an open invitation. Look for rust-through on metal caps, bent or missing mesh, and caps that have shifted off center. If you can see daylight through the mesh from the wrong angle, the mesh is compromised. A cap that is still solid but covered in creosote glaze needs cleaning, not replacement. When the mesh is intact but the lid is dented, water can pool and seep through the seam over time.
2. The Crown
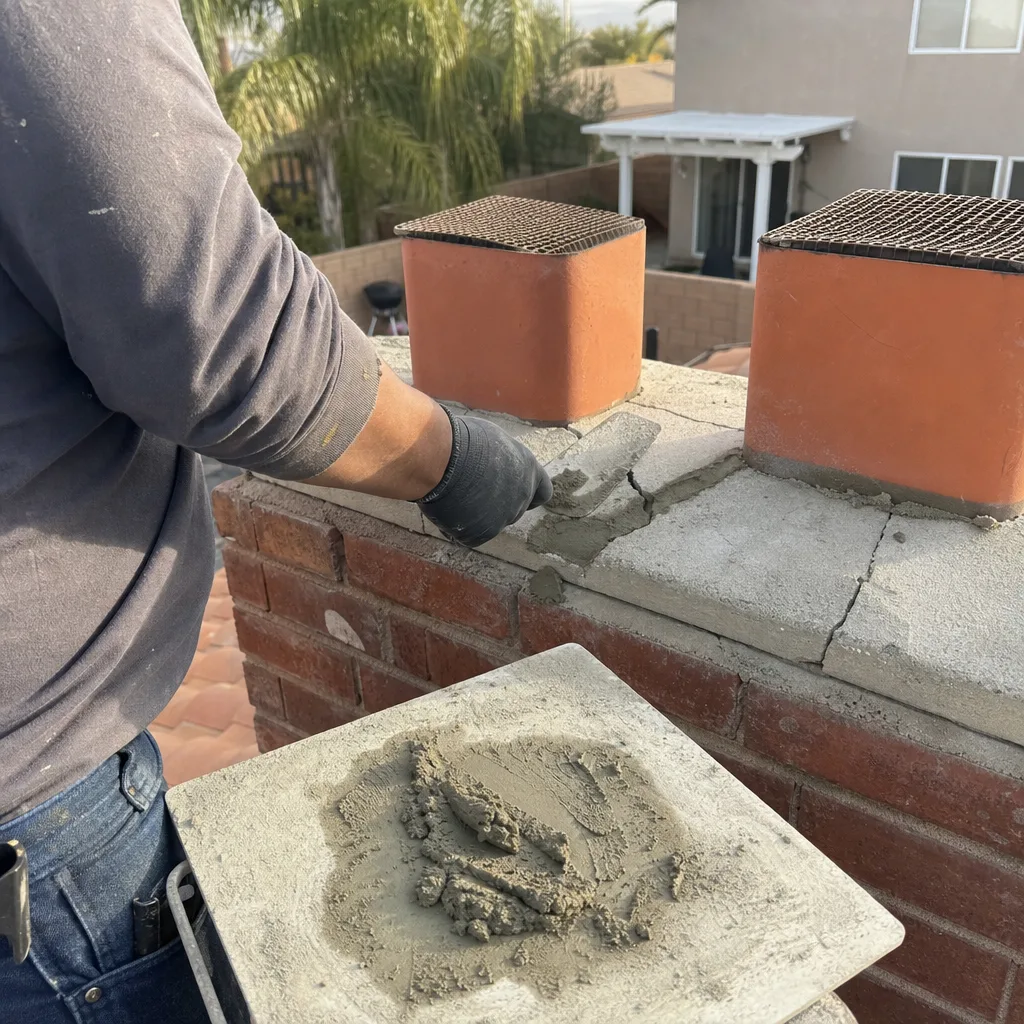
The crown is the concrete or mortar slab that caps the chimney structure around the flue. Cracks here let water into the masonry below. In Perris, the crown expands and contracts with the hot days and cooler nights, and small cracks become wider every year. Look for hairline cracks that follow the surface, chunks missing at the edges, and any spot where the crown has separated from the flue tile. A crown that shades to white or chalky in places is losing its surface layer. The fix depends on the damage: minor cracking can be patched with a crown coat product, while a crumbling crown often needs a recast. We work with Gelco crown repair materials when we rebuild crowns, because a patch job on a failing crown just buys a season or two.
3. Mortar Joints
Mortar holds the bricks or stone together, and it deteriorates faster than the masonry itself. Run your eyes down each joint, especially near the top where weather exposure is greatest. Deterioration shows as recessed lines, crumbling edges, or mortar that you can pick out with a fingernail. If you find joints with a gap deeper than a quarter inch, water is already getting behind the brick. This is the stage where tuckpointing, removing the damaged mortar and replacing it, prevents the far more expensive repair of a leaning or bulging chimney. Untreated mortar loss in Perris’s dry climate can go unnoticed for years because there is no freeze-thaw cycle to speed the visible damage, but water still works its way in.
4. Flashing
Flashing is the metal seam where the chimney meets the roof. It fails quietly. Look for lifted edges, missing sealant, rust spots, and gaps where the metal has pulled away from the masonry. The most common trouble spot in Perris is the corner where the chimney meets the roofline on the uphill side, where rain channels directly against the seam. If the flashing is peeling away or the sealant is cracked and brittle, water is running under the shingles. Flashing repair is roofing-adjacent work, and we do it as part of a full chimney inspection when the damage is at the chimney interface.
The Interior Firebox Checklist: What Homeowners Can Safely Inspect
You do not need to climb on the roof to gather useful information. Several interior checks tell you a great deal about the condition of the system, and they are safe for any homeowner to do from inside the house.
Check the Damper
Open and close the damper fully. It should move through its full range without sticking, grinding, or needing force. A damper that will not close all the way lets conditioned air escape up the flue all summer, and one that will not open creates smoke problems the moment you light a fire. If the handle feels loose or spins without engagement, the linkage has likely separated. There are dozens of damper types in Perris homes, from throat dampers just above the firebox to top-sealing dampers at the cap, so if the operation feels off and you are not sure what you are looking at, note it and ask during your next professional visit.
Look at the Smoke Shelf
The smoke shelf is the flat ledge just above the damper and behind the firebox opening. From the firebox, use a flashlight and a small mirror. Debris collects here: fine mortar dust, creosote flakes, sometimes nesting material. A light dusting is normal. A thick accumulation, or material that looks like twigs and grass, means the cap mesh has failed above and animals have been working. The smoke shelf is the second place we check on a sweep after the flue itself, because buildup here can fall and block the damper.
Assess Creosote Color and Texture
Creosote is the residue that burning wood leaves behind, and its appearance tells you a lot about how your fireplace is burning. Stage one creosote is fluffy and gray or brown, a fine powder that brushes off. Stage two is shiny, black, and flaky, dry enough to scrape but condensed on the flue walls. Stage three is glossy and tar-like, a hard glaze that has baked onto the flue surface and is very difficult to remove. Shine your flashlight up the flue from the firebox with the damper open. If what you see is shiny black and looks wet, you are in stage three territory, and that is a genuine fire hazard. Any visible creosote means a professional cleaning is due; stage three often requires rotary cleaning with specialized equipment rather than standard brushes.
Inspect the Firebox
The firebox is the brick or refractory panel area where the fire actually burns. Check the rear and side walls for cracked panels, especially hairline fractures at the corners. A cracked refractory panel exposes the metal firebox shell or the framing behind it to direct heat, which is a structural fire concern. Also check the firebrick floor for loose or missing bricks. Minor surface cracks in firebrick are common and usually cosmetic, but panels that have shifted or separated by more than an eighth of an inch deserve a professional look. Gas fireplaces have their own firebox check: the logs should sit in the same arrangement the manufacturer specified, with no soot buildup on the logs or glass that would indicate improper air mixture.
Signs on Ceilings and Walls Near the Chase
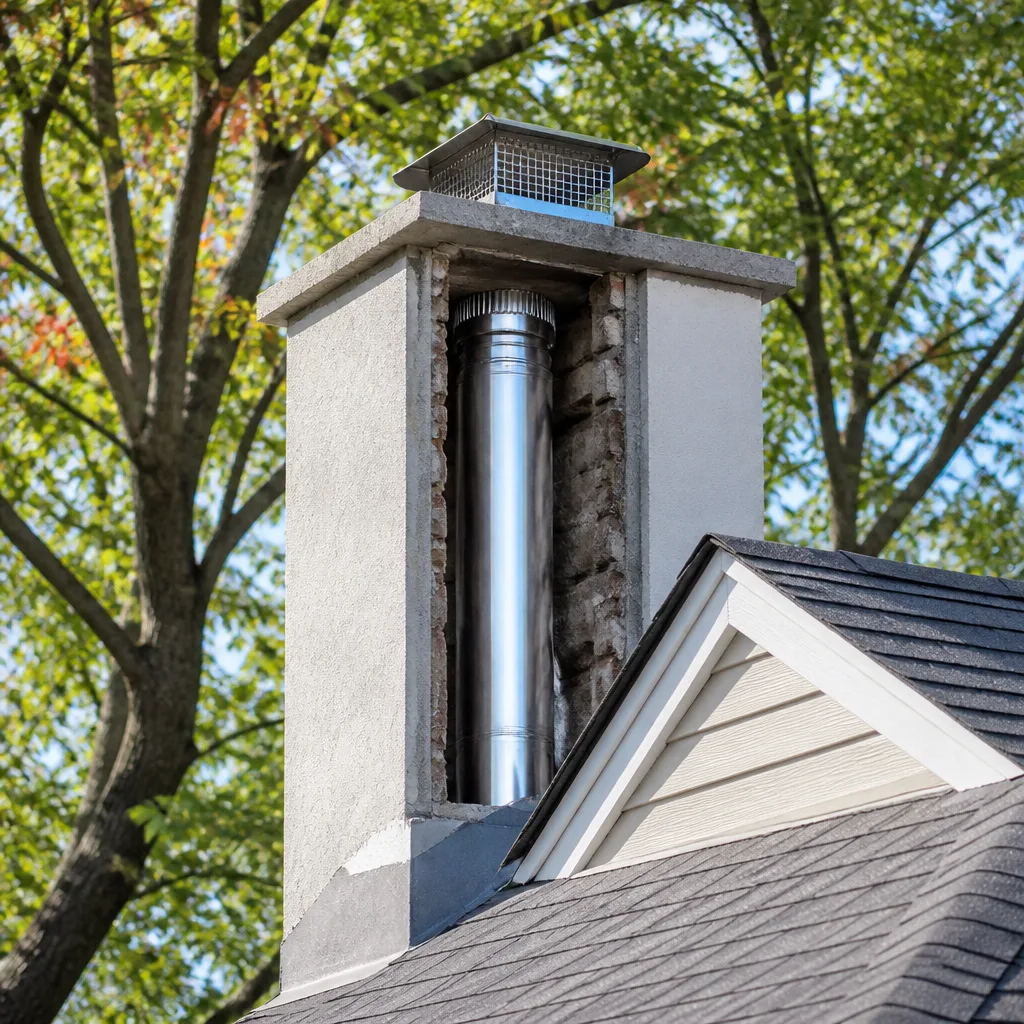
The chimney chase is the framed enclosure that hides the flue pipe in many Perris homes, especially those built after the 1980s. Water that gets past the cap or flashing often shows up on interior surfaces before you see it from outside. Walk through every room that shares a wall or ceiling with the chase and look for these indicators.
A soft, yellowish-brown stain on the ceiling near the chase usually means water has been sitting on top of the firebox or inside the chase and is soaking downward. Peeling paint or bubbling drywall tape at the ceiling-wall junction is another sign. Dark streaks that look like old water marks but feel dry to the touch tell you the leak was active during a past rain season and may have sealed itself over temporarily. Closets and rooms on the floor above the fireplace are often the first to show these marks, because water pools at the top of the chase before gravity pulls it down.
One note for Perris specifically: if the stain darkens after a heavy rain but the roof itself is sound, the path is almost always through the chase top or the flashing. A roof inspection alone will not find it. The fix starts with checking the chase cover, the metal cap that seals the top of the wooden chase. We see rusted-through chase covers on a regular basis here, not because of intense weather, but because the thin galvanized steel used on older chases simply reaches the end of its service life. Replacing a chase cover is straightforward work and typically far less expensive than repairing the water damage behind the wall.
Cleaning Frequency for Perris Homes: A Simple Table
The right cleaning interval for your chimney depends on what you burn, how often you burn it, and how old the fireplace is. Use this table as your starting point.
| Fuel Type | Burn Frequency | Recommended Cleaning Interval |
|---|---|---|
| Seasoned hardwood | Occasional (a few fires per month in winter) | Every 12 to 18 months |
| Seasoned hardwood | Regular (several fires per week in winter) | Every 12 months |
| Softwood or mixed wood | Any frequency | Every 6 to 12 months |
| Gas fireplace | Seasonal use | Annual inspection; cleaning every 2 to 3 years or as deposits appear |
| Gas logs (vented) | Seasonal use | Annual inspection; cleaning every 2 to 3 years or as deposits appear |
| Wood stove insert | Any frequency | Every 50 to 60 fires, at least annually |
Perris winters are mild, so many homeowners only burn from November through February. That is a short season, and that works in your favor: a season of occasional burning may not produce enough creosote to demand a clean every year. But the mild climate also means long stretches of damp, cool weather in the shoulder seasons, and a chimney that sits unused for months can develop its own issues. If you burn even once a month year-round, or if you use the fireplace as a primary heat source during the cooler months, stick to an annual rhythm and let the inspection confirm whether the flue needs cleaning.
Age matters too. A fireplace that has never had its tile liner inspected after fifteen or twenty years of use is a different maintenance situation than a three-year-old installation. Older flues in Perris homes, especially those with unlined or clay-tile liners, accumulate creosote faster and are more vulnerable to water damage at the top. If you have not had the flue inspected inside with a camera, the prudent approach is to do that once, establish a baseline, and then set your cleaning interval based on what the camera shows.
DIY-Safe vs. Technician-Required Items
Some of this checklist you can handle yourself. Some of it you should not. Here is the division, with no gray area.
Safe for Homeowners
- Visual inspection of the cap, crown, mortar, and flashing from the ground or a ladder, without walking on the roof
- Opening and closing the damper to feel for problems
- Looking up the flue with a flashlight from the firebox to check creosote color
- Checking the firebox panels and bricks for cracks or shifting
- Scanning ceilings and walls near the chase for water stains
- Keeping the hearth area clear of combustible materials
- Testing smoke and carbon monoxide detectors and replacing batteries
Leave These to a Technician
- Walking the roofline to inspect the cap, crown, or flashing up close
- Removing a cap for cleaning or replacement
- Rebuilding or resurfacing a cracked crown
- Tuckpointing damaged mortar joints
- Replacing flashing or sealing the chimney-roof interface
- Cleaning the flue, smoke shelf, or firebox
- Inspecting the flue liner with a camera
- Repairing or resurfacing the flue liner with products like HeatShield
- Relining a flue, including installations using DuraFlex flexible liner systems
- Any work involving the gas line to a gas fireplace
- Cleaning or repairing the interior of a dryer vent that runs through walls or ceilings
The line is clear. If the work requires getting on the roof, opening the flue system, touching gas connections, or reaching into walls, it belongs with a trained technician. A ladder and binoculars are the extent of what you need for the homeowner portion of this checklist.
A Seasonal Maintenance Routine for Perris
Here is a simple, repeatable routine that fits how Perris homeowners actually live with their fireplaces. It takes less than an hour each season.
Fall: Pre-Burn Season
- Run the full exterior walk-around: cap, crown, mortar, flashing.
- Check the damper travel and look up the flue with a flashlight.
- Inspect the firebox panels for cracks.
- Test smoke and carbon monoxide detectors.
- Book your professional Perris chimney sweep and inspection if due.
- Clear the hearth of anything that has accumulated over the summer.
After the Burn Season (Late Winter or Early Spring)
- Check ceilings and walls near the chase for any new water marks from winter rains.
- Close the damper fully and note whether it seals well.
- Brush or vacuum the firebox to remove ash and debris.
- Inspect the cap from the ground after any high winds, which are common in the Perris area during the late-winter months.
- If you noticed smoke spillage during the season, make a note to mention it at your next service.
Summer: The Off-Season Check
- Visually confirm the damper is closed to keep conditioned air from escaping.
- Check the chase interior access panel if your home has one, looking for visible rust on the flue pipe or staining.
- Run your dryer vent cleaning check: inspect the exterior vent hood for lint buildup and check the dryer’s drying time.
- If the cap needs replacement, summer is the easiest time in Perris to get it scheduled, before the winter burn season brings the rush.
Common Mistakes to Avoid
- Skipping the cap inspection because “it looked fine last year.” Caps fail gradually, and a missing mesh panel can open up in a single wind event. This is the single most common reason we find bird nests and squirrel debris in Perris chimneys.
- Assuming a gas fireplace needs no maintenance. Gas logs produce less creosote than wood, but they still produce deposits, and gas appliances require an annual inspection for safe operation. A gas fireplace is a sealed combustion appliance that can develop carbon monoxide issues if ignored.
- Cleaning the firebox but not the flue. The firebox is where you see the mess, but the flue is where the creosote accumulates to dangerous levels. Cleaning one does not clean the other.
- Burning unseasoned wood to save money. Wet or green wood produces far more creosote than properly dried wood. In Perris, wood that has been stored outside without cover for even one winter can pick up enough moisture to burn inefficiently.
- Painting over water stains on the ceiling without finding the source. The stain will return. The water path is through the chase top or flashing almost every time, and repainting only hides the evidence while the damage behind the wall continues.
- Using the fireplace as a long-burn heat source with the damper nearly closed. This smoldering burn produces heavy creosote deposits very quickly. Burn hot fires with the damper properly open, or do not burn at all.
- Failing to test carbon monoxide detectors during burn season. A working detector is the only warning you will get if the flue is partially blocked or the fireplace is drafting poorly. Test them at the start of every burn season, no exceptions.
When to Call a Professional
Call for a professional inspection if you see stage three glazed creosote, a cracked refractory panel, water stains that appear or darken after rain, a cap that is missing or has compromised mesh, or any sign that animals have been in the flue. Also call if you notice smoke spillage during use, a persistent odor from the fireplace when it is not in use, or a damper that will not operate. These are not wait-and-see items. Chimney Sweep Perris offers free estimates in Perris; call (833) 593-5414 to schedule a sweep, inspection, or repair. We answer 24/7. Fast dispatch from 7am to 7pm, Sunday through Friday.
Frequently Asked Questions
A wood-burning fireplace used regularly through the winter should be cleaned annually, while an occasional-use fireplace can go 12 to 18 months between cleanings. Gas fireplaces need an annual inspection and a cleaning every 2 to 3 years or as deposits appear. The mild Perris climate means many homes only burn from November through February, which can extend the interval, but the final answer comes from what a camera inspection shows in your flue. Call (833) 593-5414 for an exact recommendation, and the estimate is free.
A standard chimney sweep and inspection in Perris typically runs in the low to mid hundreds of dollars, depending on the level of creosote, the fireplace type, and whether repairs are needed. The written estimate sets the final price after an inspection shows what work the flue actually requires. Repair work uses the same professional-grade materials supplied by trade brands, including HeatShield and Olympia Chimney products, and nothing is recommended without camera evidence you can see for yourself.
Not every damaged liner needs replacement. HeatShield resurfacing can restore a liner with cracked joints or minor deterioration without a full tear-out, and a camera inspection will show you exactly what condition the liner is in. In our experience, the majority of liners in Perris homes need either no liner work at all, a cap and crown repair, or a resurfacing; full replacement is the answer only when the liner has separated, collapsed, or is no longer safe. We tell you what we find, then give you options.
Creosote builds up on the flue walls and becomes a fuel source for a chimney fire. A chimney fire can crack the flue liner, melt the surrounding structure, and spread to the home. Skipping maintenance also allows cap and crown damage to worsen, which brings water into the masonry and rusts interior components. The risk compounds every year you defer, and the repair cost rises with it. The cleaning is far less expensive than the repair.
Yes. Use binoculars from the ground for the cap, crown, and flashing, and inspect the damper, firebox, and visible creosote from inside the firebox with a flashlight. These checks will catch most visible problems. Anything that requires roof access, flue access, or camera inspection belongs with a professional technician. The checklist above divides the two clearly.
Look for missing or bent mesh, rust-through on the metal, a lid that has separated from the body, or a cap that sits off center on the flue. Any of these means the cap is no longer keeping rain and animals out. In Perris, where birds and squirrels are active year-round and high winds are common, a damaged cap will cause problems quickly. Caps are replaced during a standard service visit, and we keep quality replacement caps on hand to do the job in one trip.
The Bottom Line
A chimney maintenance checklist only works if it reflects where you live and how you burn. For Perris homeowners, the priorities are the cap, the crown, the flashing, and the visible creosote level, checked on a seasonal rhythm between professional visits. Water and animals are the dominant threats to a chimney that sits idle for most of the year, and both enter through the top when the cap or crown fails. The interior checks take minutes and tell you when a cleaning is genuinely due. If your inspection turns up anything you are unsure about, schedule a free estimate and get a camera-backed answer before you burn another season.
Written by the team at Chimney Sweep Perris, serving Perris since 2013.
See the difference
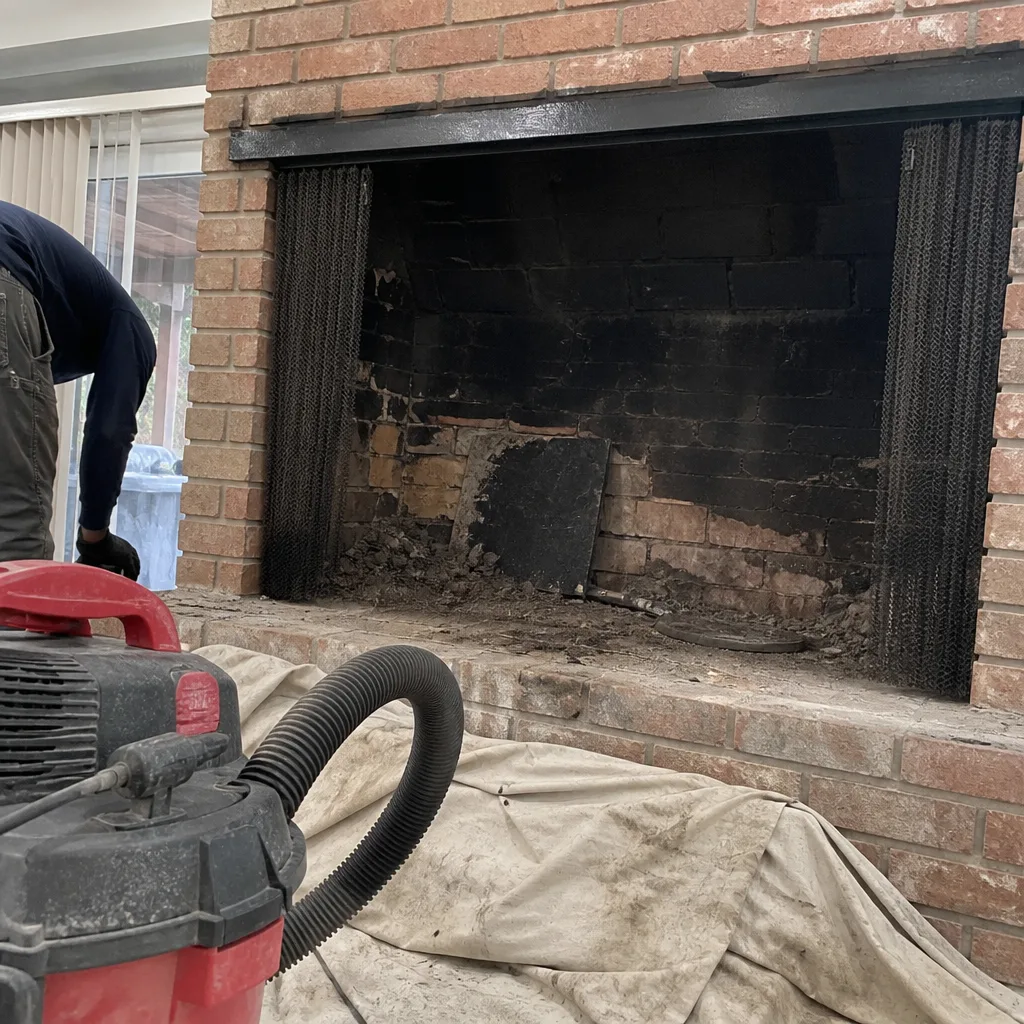 Before
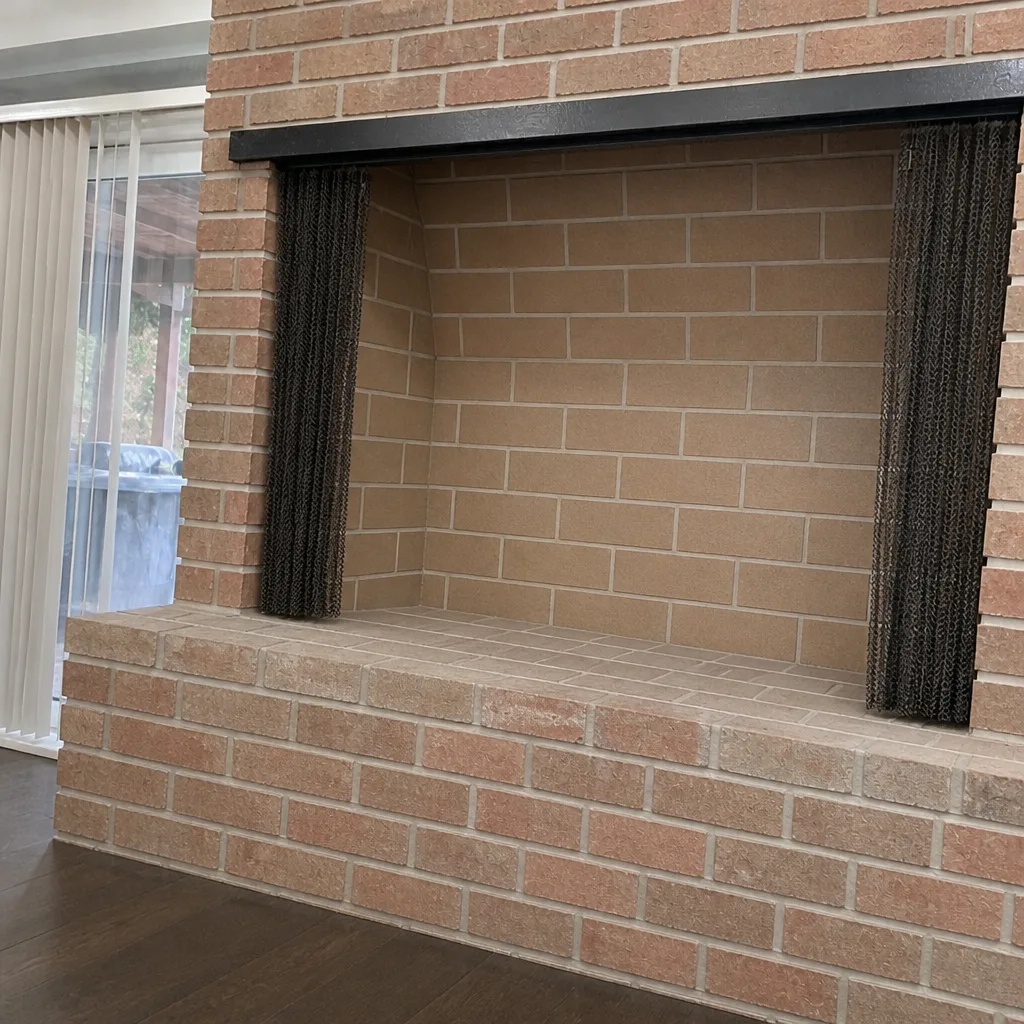 After
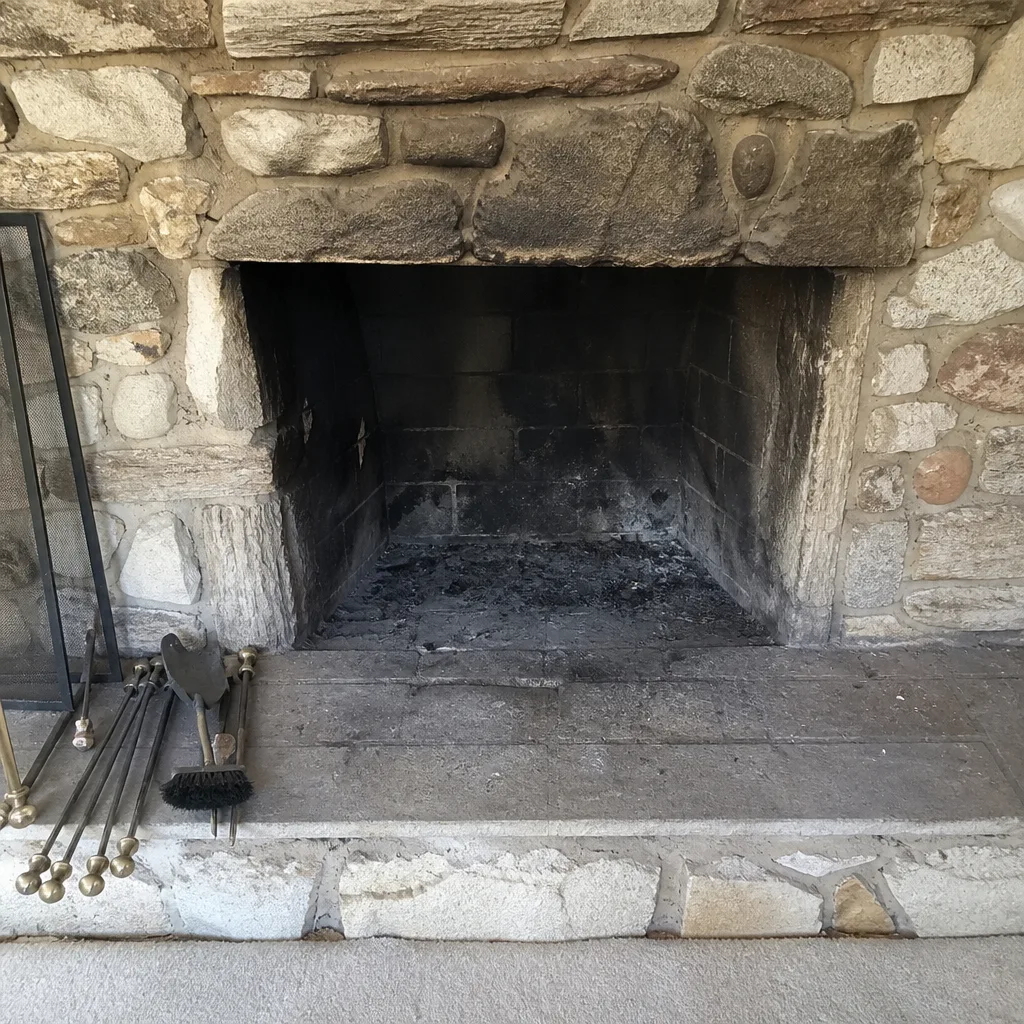 Before
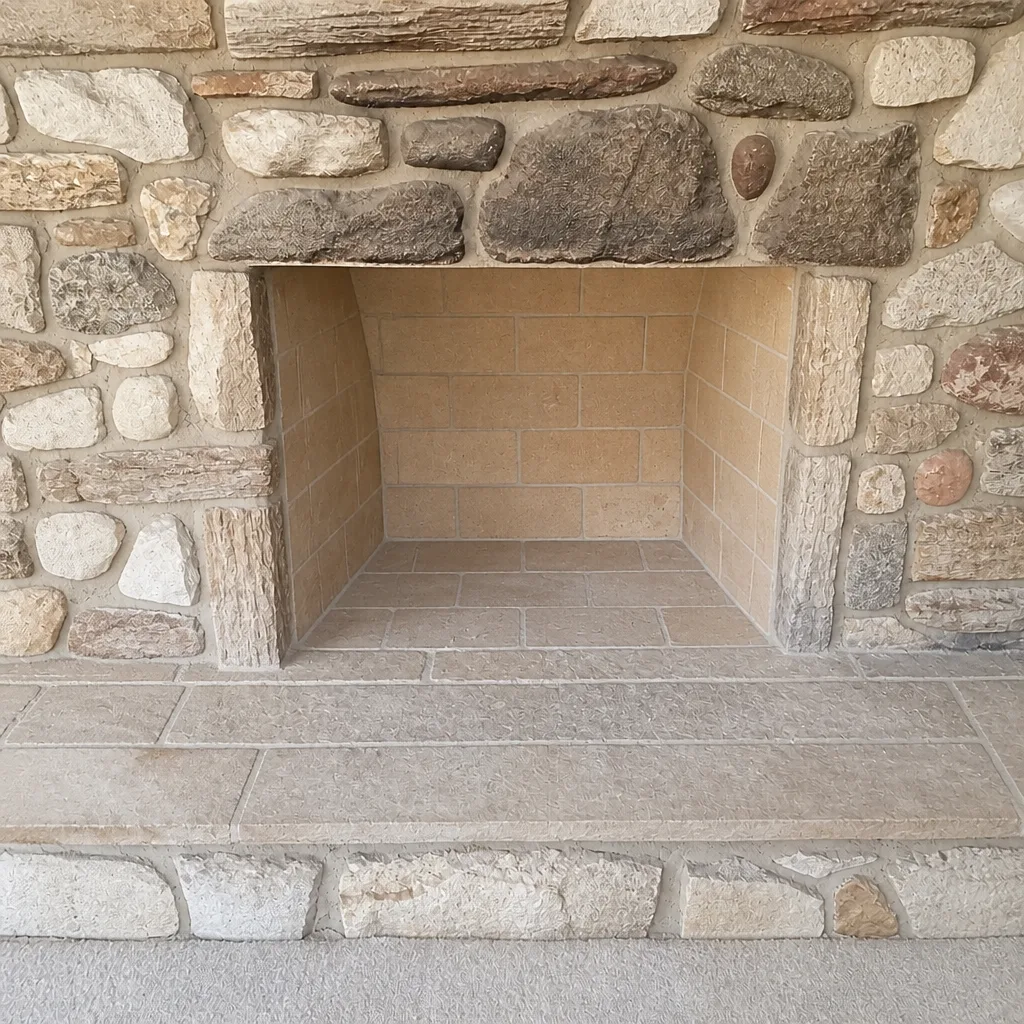 After
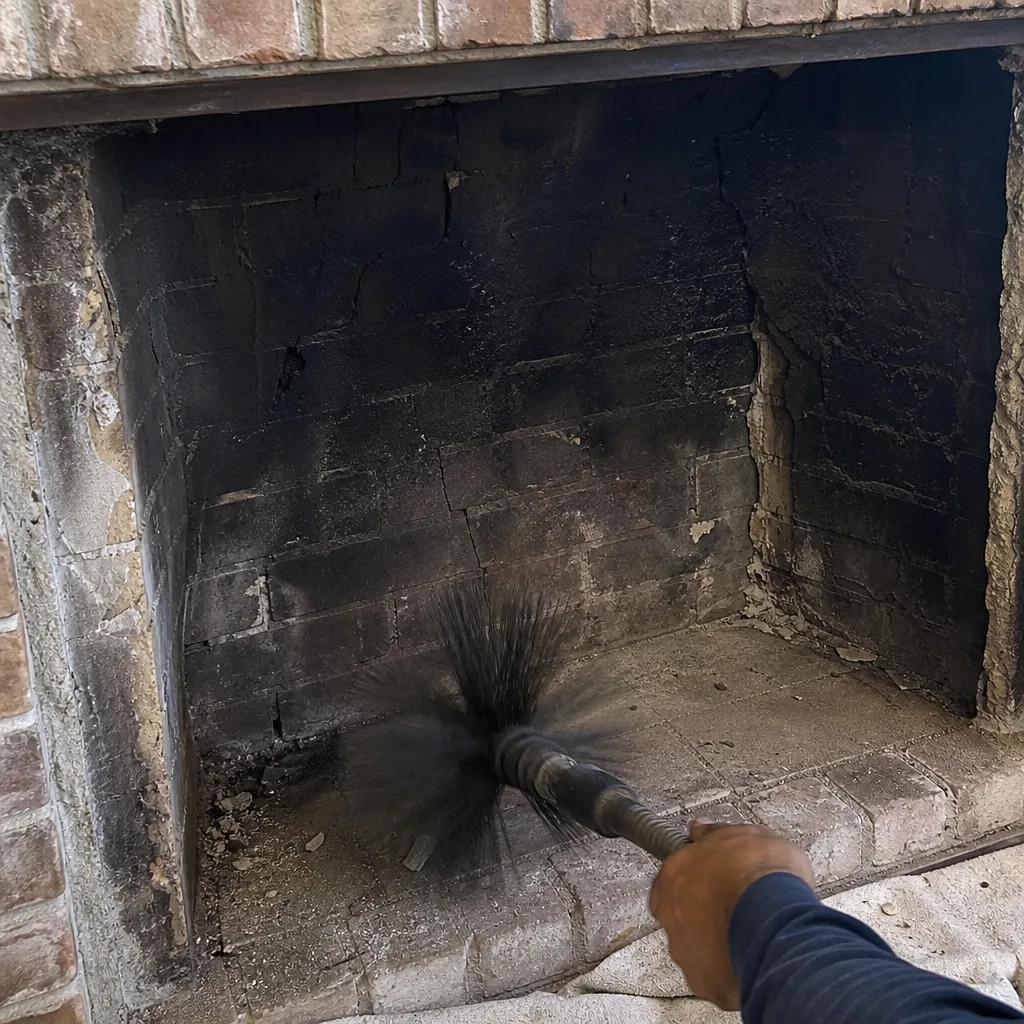 Before
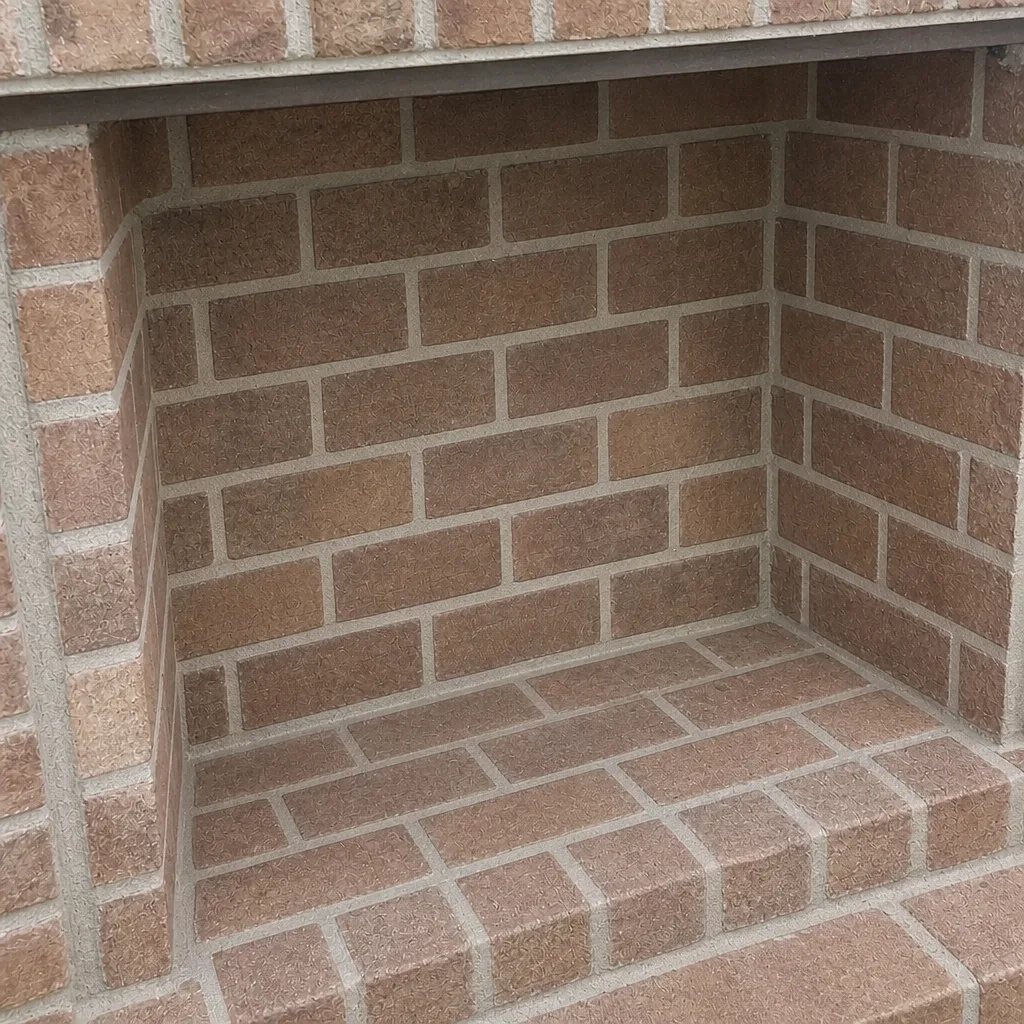 After